I told myself I wasn't going to do tutorials. Most of the stuff I do needs little or no explanation. I was wrong.
When I show people my paper beads they often ask how I made them. So ... paper beads my style.
The inspiration :
These lovely papers I splurged on from
Sundance . They are sold as gift wrap, but I think of them as handmade art papers. If you really want to feast your eyes on tons of beautiful papers take a look at
Handmade Paper . I do ok with a few dozen choices, but when I'm given hundreds or thousands of beautiful things to chose from, I just can't. All those lovely papers could spark a lifetime's supply of paper projects.
Gather your materials.
- Bead making paper
- Cheap White Glue
- Cheap paint brushes
- A palette
- Scissors and/or paper cutting equipment
- Cotton swabs with plastic stems
- Shallow boxes 1 1/2 - 2 inches in width
- Non-printed paper to protect your work surface
- Bamboo skewers
- Rubber Bands
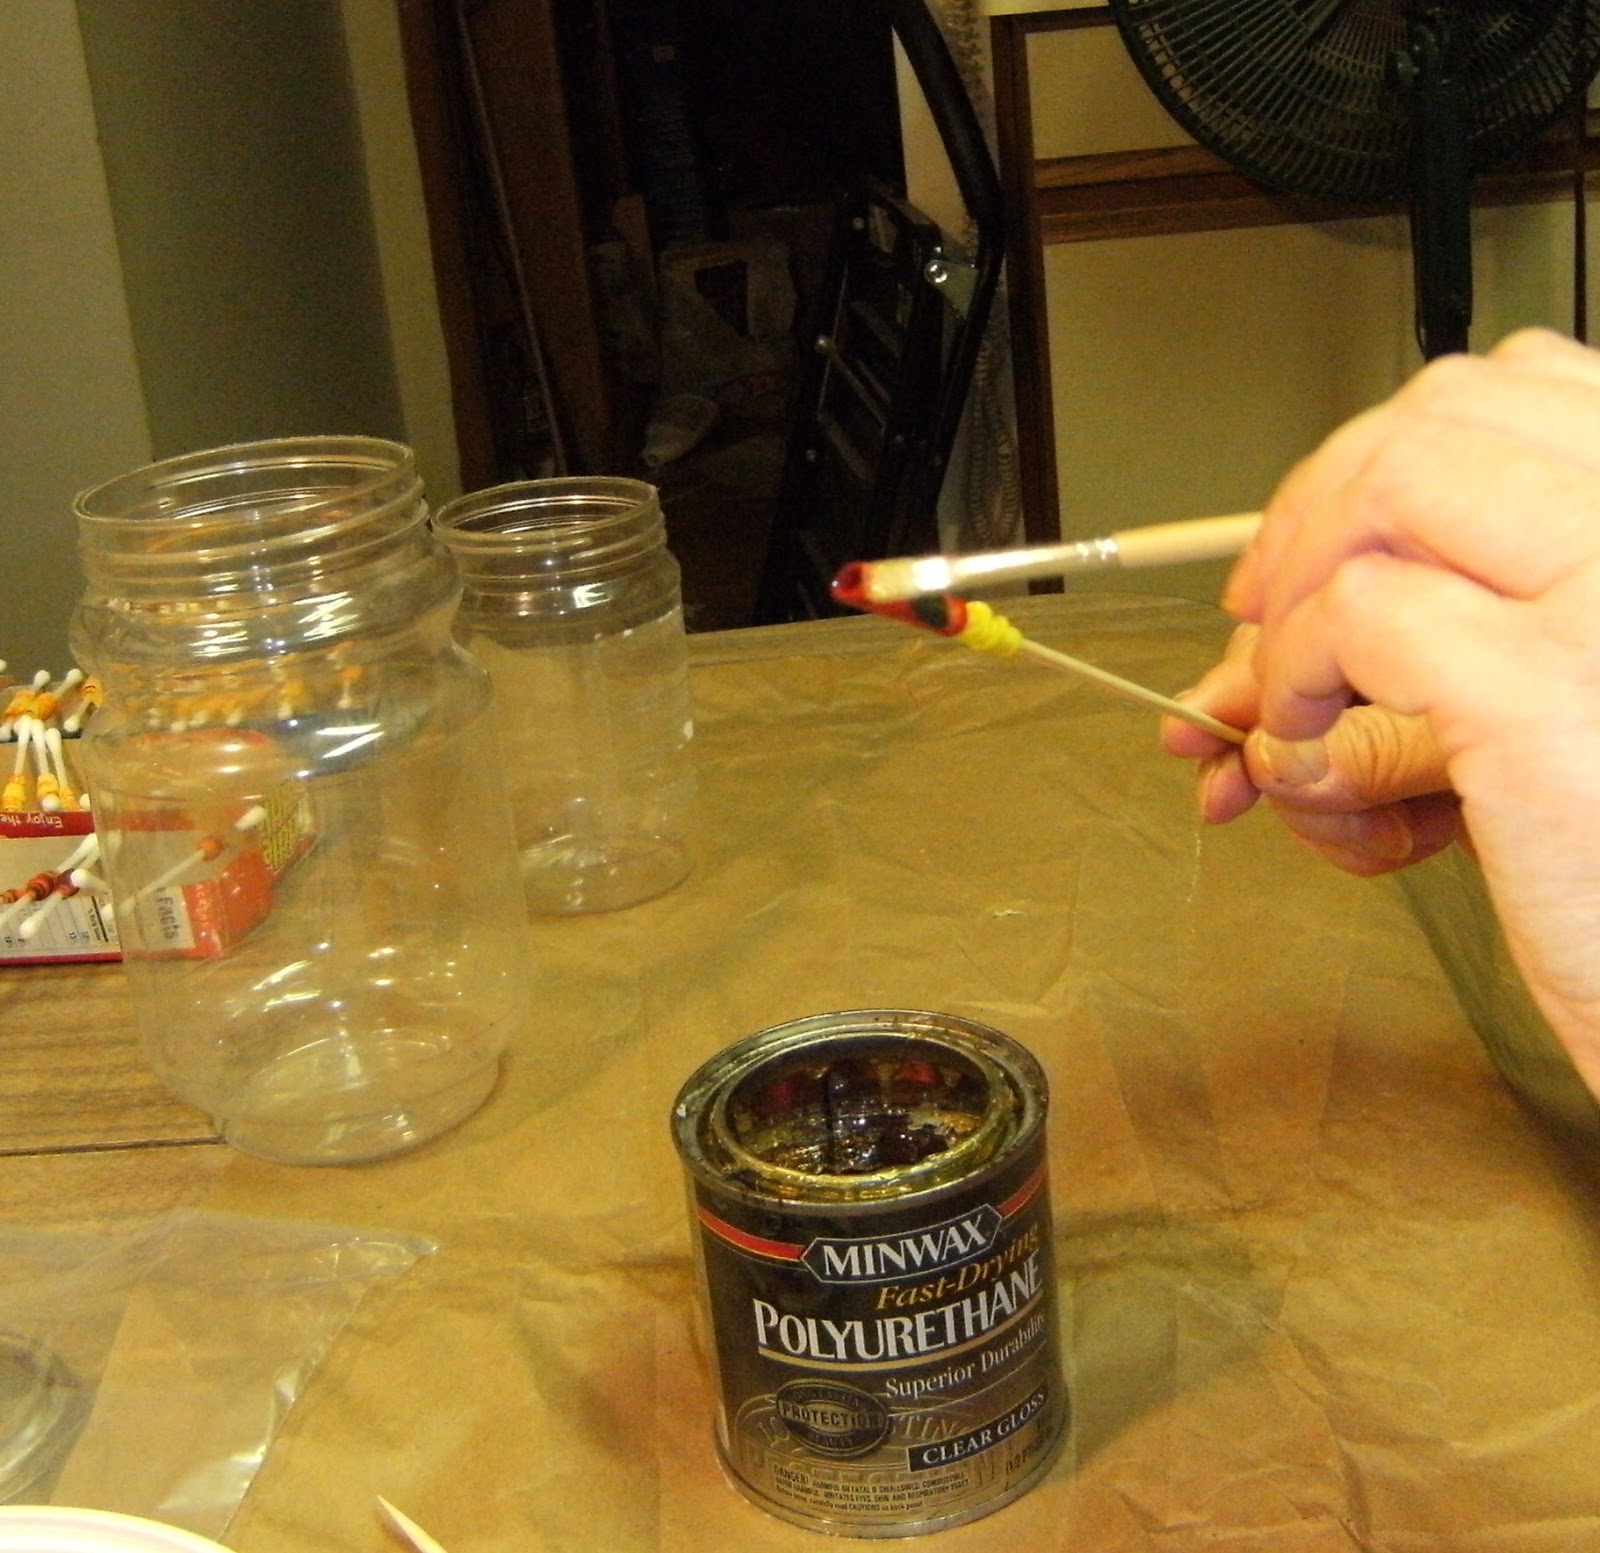
- Polyurethane varnish
- Jars
Just about any paper can be used to make paper beads. Card stock is a little too stiff and shiny papers like magazine pages get a bit difficult to handle in the gluing step. Printer paper works great ! So does construction paper. You can use just about any technique to decorate your paper beads. Stamping, painting, glitter, stickers, wire wraping, beading on beads, do whatever makes you happy. I often keep a bunch of plain paper beads on hand, then cut tiny pieces of special paper to cover them. Pictures clipped from a magazine work well, too. I like the idea that close inspection of a bead will reveal a special image. Iconic faces make an interesting discovery. Special bits of cloth can cover beads. Go wild !
Cutting the paper.
I will show you three easy shapes. These are pretty basic, but are enough for me. I usually add commerially made round beads for variety when I string my paper beads. There are a lot more possibilities, so feel free to try something more adventurous.
The principle is simple. The width of your paper strip equals the length of your bead. The length of your paper strip, along with the thickness of your paper determines the thickness of your bead. As a guide I usually cut printer paper lengthwise giving an 11 inch strip. Make a few practise beads before cutting up a ream of paper.
- A straight strip of paper makes a cylinder.
- Cut from each corner to the center of the opposite end making a long triangle. Your bead will be bigger in the middle and tapered on both ends.
- Cut from one corner to the diagonal corner. The bead will be narrow on one end and wider on the other.
Rolling beads.
Pour a blob of white glue onto your palette. Paint a thin coat of glue onto your strip of paper, leaving one end (about 1/2 inch) untouched and putting a bit of extra glue at the other end.
Starting with the not glued end roll the paper strip around the stem of a cotton swab. Press lightly on the end of the paper strip to help it stick.
Balance the cotton swab across the box so that the bead is not touching the box or another bead.
Leave beads to dry overnight. Wash your brush immediately with soap and water or just discard the brush.
Next day, cut the stem of the cotton swab and remove your bead.
Oops, I almost forgot to explain about the boxes ! The whole point of the boxes is to keep the gluey beads from touching anything. I simply cut the bottom off of cereal or cracker boxes to make these elegant tools, so start eating cereal and crackers right now. <grin> You can also fold up boxes from any piece of thin cardboard you happen to have around.
Finishing the bead.
Your bead is almost perfect, but I want things to last a long, long time. If you painted your bead with acrylic paint including all the surfaces, then it doesn't need finishing. Otherwise a quick coat of polyurethane will protect your bead from moisture and abrasion.
Last of the home made tools. To hold your bead while you are painting or finishing it, wrap a rubber band around a bamboo skewer a little bit below the point. This will give your bead a place to rest while it dries.
Stick the skewers in a jar, like a bouquet of flowers to keep your beads separated.
A bowl of new paper beads.